Starting with zero (and I really do me 0!) experience of using WordPress I decided to document the issues I came up against. Now given that WordPress is used in 45% of the web, there is a lot of information out there to refer to. This is great, but it also means that there is a a lot of information for different configurations running on different stacks with different software versions. Also, a lot of people seem to use hosted WordPress so there are layers on top for controlling their access. For me, I’m funning vanilla WordPress on Ubuntu with Nginx.
Increasing the Max Image size
This should have been easier than it was, but it wasn’t. I was hoping to find a single configuration setting where the 2MB limit was specified but, alas, it wasn’t as simple as that.
A quick web search and I was seeing titles like “11 ways to increase max image size” and I was thinking “Really? 11 ways??” Clicking through and reading the pages it became clear why there were so many different ways to do it. It turns out there are so many different ways to install WordPress and each way needs its own approach for configuration. If you are using a hosted WordPress it probably is the easiest to update, but for me I had to work out I needed.
After longer than I care to admit, I was able to work out how to increase the file size limit. It turns out the decision to use nginx seems to have me on the less common install base so I had to narrow down my searches around that. Eventually, after much trial and error, I worked out I needed to create a php.ini file and update my nginx configuration.
Create a php.ini
In the root directory of WordPress create a file called php.ini. In it put the following lines
upload_max_filesize = 32M
post_max_size = 64M
memory_limit = 128M
Save it, and be sure to change the ownership to the nginx user (in my case www-data). That is step 1 of 2 complete
Update the nginx configuration
In the nginx configuration we also have to update the PHP configuration to allow for larger files. The system is setup for stability, so larger file uploads are generally seen as a bad thing, but in our case we need to be able to upload high quality images.
In the file /etc/php/7.4/fpm$/php.ini update the following two lines
upload_max_filesize = 64M
post_max_size = 128M
CSS – Setting the font size
With the default layout all of the text seemed on the large size. It would be great for a graphic site, but I will be doing a lot of writing so I wanted to reduce the text to get more on the screen.
On the main WordPress menu, under the Apperence -> Customize -> Additional CSS option you can add CSS that is applied site wide. This would allow me to scale everything in one go.
body { font-size: 1.25rem; }
And that was it – font is better. This will also allow me to apply CSS to any element on the site should I need to. Which quickly led me on to
.wp-block-code {
	background-color: lightgray;
}
Image Sizes
According to google, the best sizes for images on WordPress are
- Blog post image size (1200 x 630 pixels)
- Header image size (banner size 1048 x 250 pixels)
- Featured image size (landscape 1200 x 900 pixels)
- Featured image size (portrait 900 x 1200 pixels)
- WordPress background image size (1920 x 1080 pixels)
- Logo image size (200 x 100 pixels)
- Thumbnail image size (150 x 150 pixels)
Google Analytics
It seems like google has cornered the market for free website analytics. I thought I’d start off with Google Analytics and revisit the topic down the line if needed.
- I created a google analytics account using my existing google login
- it asks a bunch of questions and then give you a tag ID
- then you install Site Kit by Google as a plugin on WordPress
- when its installed, a new menu option appears with the “Site Kit” label
- clicking on that, you are prompted to log into your google account – the plugin will take care of the rest
And that’s it – I now have Google Analytics enabled on my site. It took about 3 minutes from start to finish.
Gutenberg
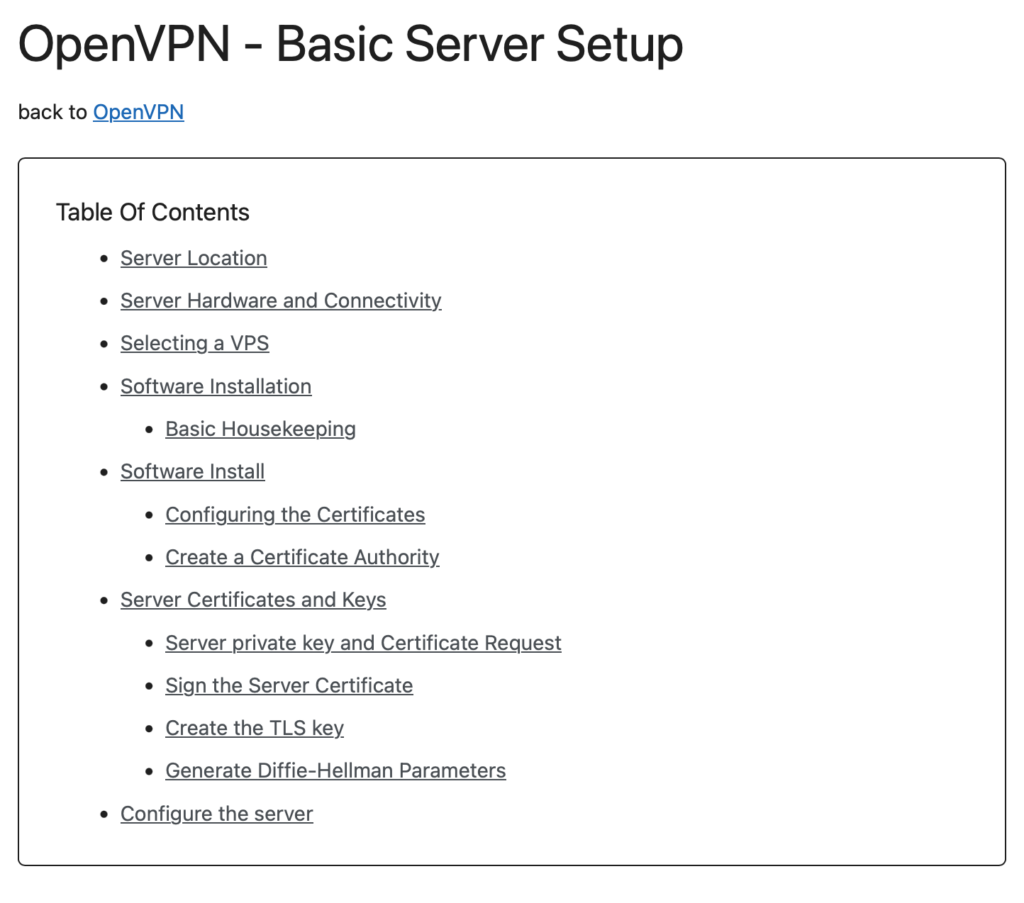
When creating my first large pages, I was disappointed to see there was no “native” table of contents option. However, it being WordPress, I was sure someone somewhere wrote a plugin to handle this. And boy are the plugins – lots and lots of them. A name that comes up again and again “Gutenberg”, so I decided to start there.
From their blurb “Gutenberg is a block-based editor for WordPress that lets users create and edit content for their websites. It was released in 2018 as part of WordPress 5.0.” Seemed good so far. So I went to the plugin page and searched for Gutenberg and found there are many extensions and variations that extend Gutenberg functionality. There was even the authentic Gutenberg plugin on the list. Most have several hundred thousand installs, but one, the Spectra plugin, has over a million. Reading the tag line it says “The Spectra extends the Gutenberg functionality with several unique and feature-rich blocks that help build websites faster.” A couple of clicks later and it was installed and active.
I want back to the large page and added a Table Of Contents block to the page – and it looked pretty good


